Friday 20 December 2013

A Pink Christmas!

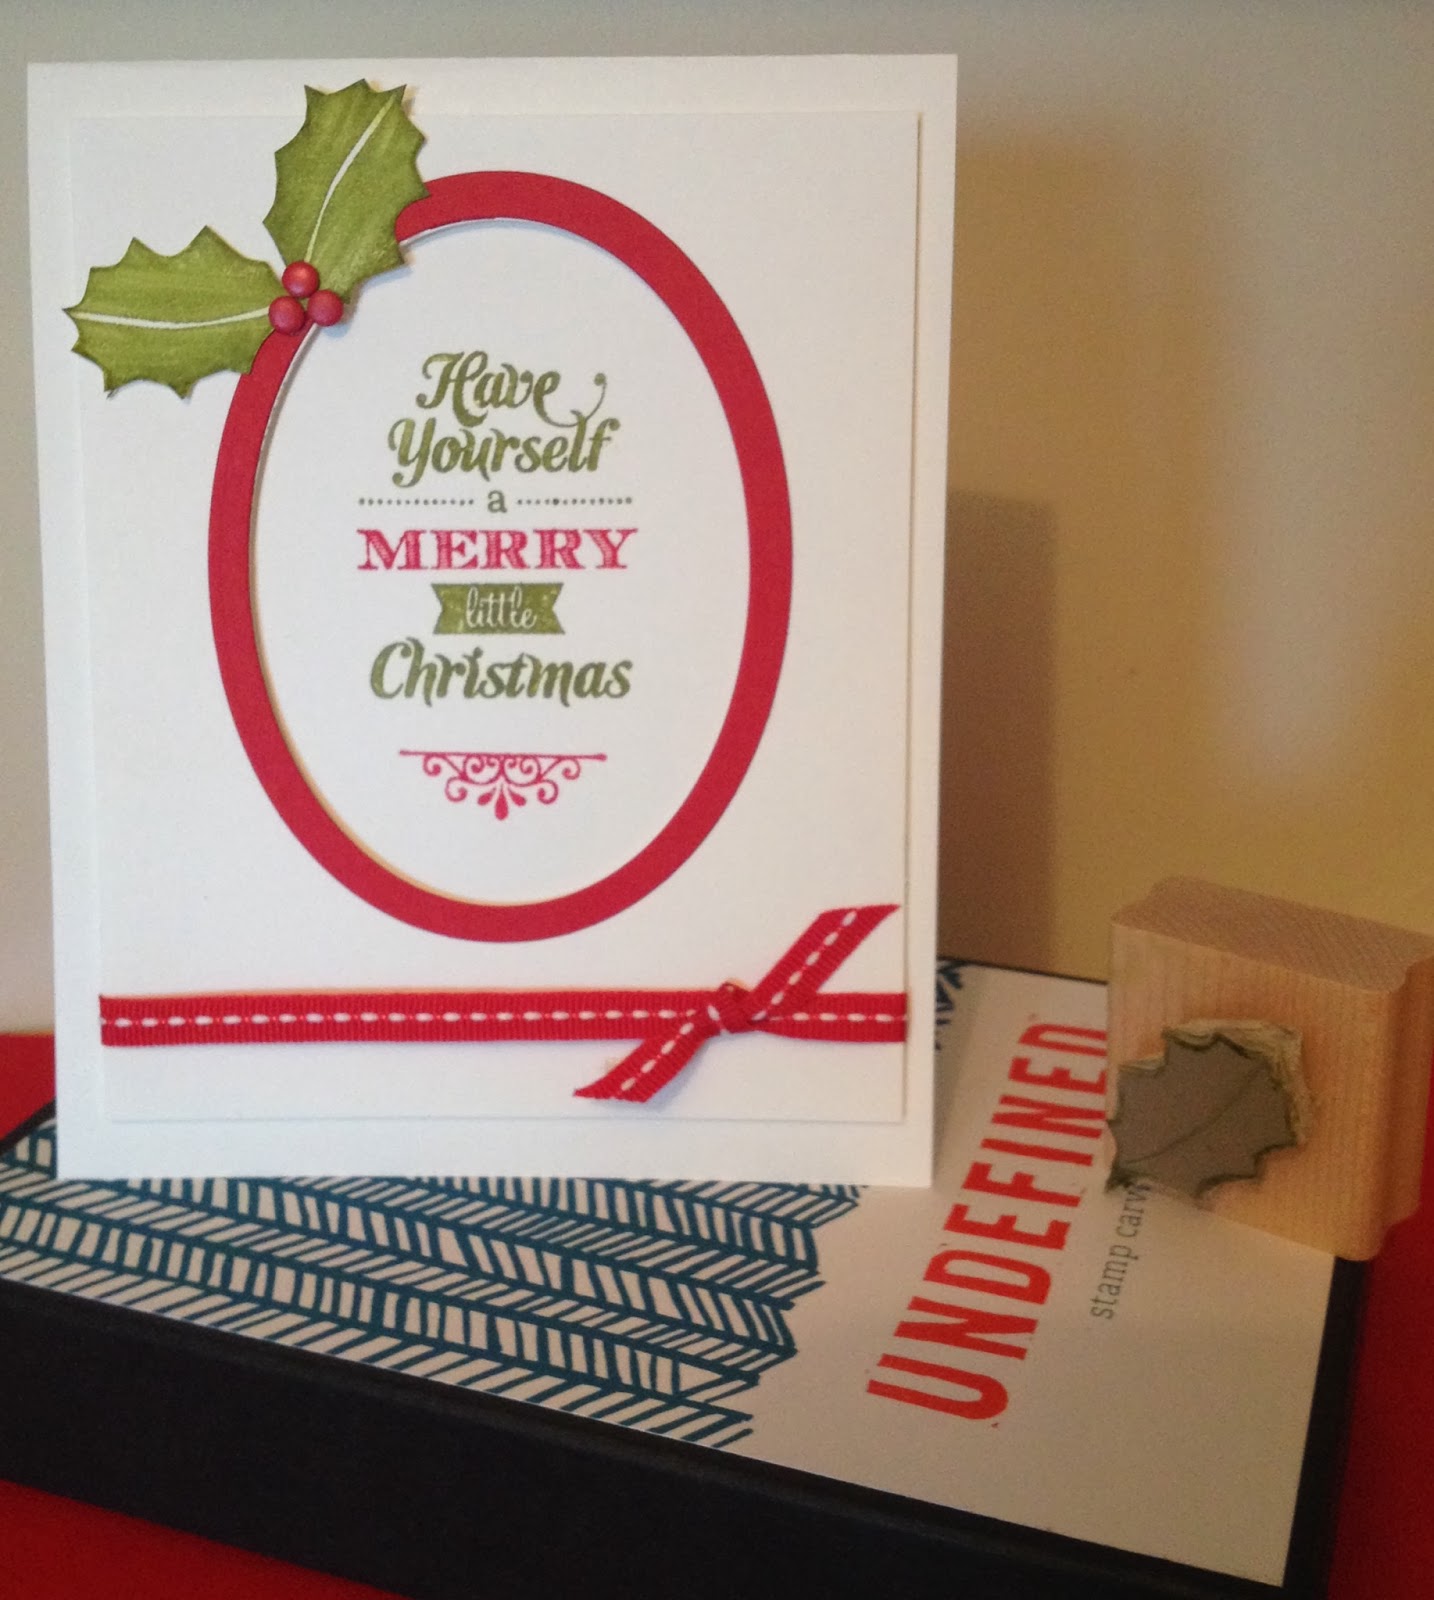
I decided to make very girly Christmas cards this year for a few special girlfriends. What do you think of the alternative colour scheme? I love pink pirouette and silver together and I have used the frosted finishes embellishments on everything and even made earrings with them.  I wanted the clear crystal bits to match the pink so I coloured them with a permanent marker.


My Christmas really starts tomorrow with my daughter arriving home, this makes me very happy. I know sometimes Christmas can get a bit commercialised and the true meaning can get lost in all the shopping but I love how it brings friends and families together. I love writing cards to people from my past, that I don't get to see anymore and catching up with them.

Thank you to all who visit my little blog and hope you have found some inspiration here. Have a lovely Christmas and a happy healthy 2014.

Tuesday 17 December 2013

Christmas Box

Just a quick post this morning to share a little box I made with the envelope punch board, it's just a box shape envelope, very easy to make. I had bought a little gift for my daughter and it was an awkward shape so I measured it and made a box to fit it!
Off to wrap more presents! I can see the floor in the spare room now! Ha Ha


Sunday 15 December 2013

December Thank You

Hello friends and followers, can you believe that Christmas is just around the corner? Help, I need another week! I'm sure we will all get organised in the end. Thought I would share my December thank you card and gift set I give to my loyal customers. 
My virtual hostess club members get a little handmade gift and thank you card every month in their parcels but as it was Christmas
and also Stampin' Ups 25th anniversary year I pushed the boat out 
and give them these special anniversary key rings, I bought myself one too and have added mine to my handbag.

Keeping wrapping, you'll get there in the end!

Thursday 12 December 2013

Christmas is not always a happy time

Christmas can be a sad time for some people, particularly those who have lost a loved one. I wanted to make cards for friends who have been bereaved in recent months and a "Happy Christmas" card just didn't seem suitable. These cards are what I came up with, I used the beautiful peace dove from Stampin' Up's Calm Christmas stamp set. I left the inside blank to write a little note and hope that when my friends receive them it will bring a little comfort.

Thanks for stopping by today.

Tuesday 10 December 2013

Decorating your home

Just to show you that Stampin Up products are not just for cards and scrapbooking here's a photo of a Christmas banner I made for above the fireplace. I used the canvas banners, these are made of thick material which will last for years and could be used for a special birthday party, wedding etc and personalised with a name. 

The build a banner kit 133507 costs £17.95 which is a bargain as you get 18 canvas banners and stencils to make dots, stripes, alphabets and more. The accessory kit which I used on my banner 132697 costs £8.95 although you could just used things you already own to decorate the banner.  You can see them on page 31 in the Autumn/Winter catalogue.
Sorry the photograph is a bit dull but it's very hard to get good light at this time of year but I hope you can see how nice it is and maybe be inspired enough to make one of your own. Thanks for taking the time to drop by my blog today when life is so busy for us all.

Clearance Rack!

These clearance items are only available while stocks last so if you have your eye on one of the bargains then click on my online store button to place your order today!

Monday 9 December 2013

My attempt using Undefined!

Hello friends, hope all your Christmas preparations are going well. I thought I would share this photo with you, I received Stampin Up's Undefined as a prize patrol gift at convention, it is a stamp carving kit, you can carve any image you wish with it.  I drew a basic (very basic!) holly leaf and transferred the image onto the rubber and then carved it out with the tools included. This is the card I made using the image, what do you think? The possibilities are endless with this kit, you can even transfer a photo image and carve it out, use clip art, a child's drawing or your own artistic sketch, you choose.


I'll be back soon with some more Christmas projects.
Undefined carving kit, which includes everything you need to create a few stamps (depending on size) is 133402 and costs £17.95 and you can also get a refill pack once you have used up all the rubber included.


Sunday 8 December 2013

Christmas Cookies

Good morning, hope your weekend is going well. I already shared a present I received at convention, here's another one! This one was from fellow demonstrator and friend Monica Gale, I loved it! The cup contained Christmas cookies, which disappeared quickly as they were delicious. Also in the lovely gift bag was a diamanté lanyard to hang my Stampin Up name tag from.  Monica is very accomplished at My Digital Studio and used her skills to make the card that came with the present, it has a pull out piece with the recipe for the cookies on it which my husband has insisted I make for Christmas, after tasting Monica's!


Friday 6 December 2013

Thoughtful gift!

Morning everyone, I thought I would share a photo of the lovely gift I received at convention from my upline Natalie.  The great star stamp was in the beautiful gift packaging.  The little chevron bags really do dress up a little gift, don't they? Talking of gifts I'm off in a few minutes to do some Christmas shopping, wish me luck I need to find some inspiring gifts, for men! Not my favourite people to buy for. I'll be back soon to show you some of the things I have been working on for Christmas. Have a great weekend.

Sunday 1 December 2013

Happy Home

Hope you had a lovely weekend, a little change from Christmas tonight, I thought I would share with you a card I made for our friends who recently moved into their dream home. (I took inspiration from a card I saw on an American demonstrator's blog, Mary Fish). The stamp is from a retired set and actually says congratulations on your new baby, so I used a marker to ink it up and just left off the word baby! I used the Typeset alphabet Bigz dies to cut HOME, the paper is from Gingham Garden dsp and I added a little retired key from Stampin' Up and a flower from the in colour Dahlias.


Enjoy the rest of your Sunday.

Thursday 28 November 2013

Quick Christmas card

A quick card this evening and a quick post ;-) I was inspired by a card I saw on Shelli Gardner's blog, this Christmas card doesn't take too long to make a few for the special people in your life this Christmas but is still very effective and pretty.
Thanks for stopping by.


Tuesday 26 November 2013

The beautiful swaps I received

I received lots of beautiful swaps both from UK demonstrators and some from Germany, Austria, France and the Netherlands! When we swap it's not just about what we receive (although I love that part) but it's an ice breaker, you start up a conversation about how it was made, where the person is from etc. it's just lovely to be with other people who love Stampin' Up as much as you do!  

Aren't they all lovely! Thanks for stopping by my blog today, hope you got some inspiration to create something of your own, I'll be back soon with some more ideas.

Monday 25 November 2013

A Good time was had by all!

I got back from Stampin' Up convention in Manchester on Saturday night after a fun packed few days.  We swapped ideas, saw fantastic projects on the inspiration boards, listened to wonderful talks from Stampin' Up, watched fellow demonstrators show how to make things both on stage and at the booths but the best part for me was catching up with demonstrators I know but don't see very often and also making new friends.  When crafters get together we have such a lot of fun, we love the same things so have loads in common!  Here's a photo of my swaps, I made cards and little boxes, around 50 in total and I still ran out!
I will photograph all the swaps I received in return and show them 
to you very soon.

Wednesday 20 November 2013

November Thank You

Just a quick post today and a break away from Christmas, a photo of my thank you card and little gift I made for the members of my hostess club. I used the Best of Flowers stamp set, I stamped the hydrangea flower all over whisper white card to make the cracker and matched the card with it. So quick to make your own crackers with the envelope punch board. I'm busy getting organised to go to Manchester for the Stampin' Up convention, packing and making swaps are taking up lots my my time, I'm very excited about going as it's my first time and I can't wait to meet up with lots of other demonstrators, some I already know but I'm looking forward to making new friends too!
I'll be back after convention to share what I made to swap and also show you some of the swaps I received back.

Monday 18 November 2013

Remember Last Christmas

                 Remember last year we were all making these?
This was my blue version, lots of people made traditional red and green ones. The ornament stamps and framelits dies are not in the current catalogues but were carried over, so you can still purchase them! Ornament Keepsake stamps in wood mount 128048 £30.95 and in clear 128051 £24.95 and matching framelits dies 127816 priced at £20.95.
                 
If you purchased them last year, here's something new to try with them, I stamped all over an A4 sheet of whisper white in different ink colours, then cut and folded the card into a lovely little bag and added a handle to hang on the tree, perfect for a little gift of jewellery, sweets or any other small item.
We are expecting a very cold spell here in the UK so cosy up at home and enjoy lots of craft time

Thursday 14 November 2013

Wheel Away

When it comes to Stampin' Up's wheel stamps I like to remove them from the wheel, attach them to some foam backed mount and use them like standard stamps. (If you look closely, there is a join/seam, cut this carefully with a craft knife and peel away from the wheel) I find them easier to use but one problem I had was that all my clear mount blocks weren't long enough, I tried different things including using a new big shot plate but the large size of this made it a bit difficult.  One day I had a lightbulb moment (doesn't happen very often, unfortunately!) I had a clear ruler lying on my desk and I thought I would try that, sure enough, it worked! So if you don't normally look at the wheel stamps, take a fresh look now and get out those rulers!

Here's a bright, sunny card I made using the lovely gingham wheel to remind you of warmer days.  I love these colours together, pistachio pudding, calypso coral and crisp cantaloupe, so clean and fresh.


Hope you decide to try this out, let me know if it works for you too.

Tuesday 12 November 2013

Getting organised for Christmas

Good morning everyone, I made a decision to get better organised this year, I say it every year then end up ruining around trying to find that important list I had! Well this year everything is going to be in one place, right inside my beautiful journal. I decorated the front at the weekend, it's a lot more shimmery than the photo shows, it's hard to get a good photo at this time of year. I sponged round the edges with the gold ink pad and then sprayed with the smooch spritz. Lots of different sections inside, already decorated, there are parts for gift lists, food shopping, Christmas cards & more.  I'm going to put temporary lists inside the little pockets and write anything that's permanent like addresses in the proper sections, I'm ticking off things completed in pencil, that way I can rub out and reuse next year, making this a journal to use again and again.  There are a couple of little envelopes tucked inside and these would be very useful to store all your receipts.


Hope this has inspired you to get more organised this year.


Sunday 10 November 2013

Christmas Sweetie Bag

Hope you're all having a lovely weekend, the weather here on the coast has been beautiful, cold but sunny and bright, the sort of weather I love to walk in.

Thought I would share with you this lovely Christmas bag I made, it's a sort of a handbag shape.  I was inspired by a gift of toffee I received in a similar bag. Off course I had to take it apart to see how it was made (after eating the toffees first!) and I came up with my own version. It's a crafters thing, isn't it, we have to see how it's done, we all do it!


Short and sweet today!
I used the gorgeous stamp set Joyful Christmas. I stamped the poinsettia on vellum in versamark and heat embossed it in white, cut out a couple of layers and coloured them on the back with cherry cobbler to give a lovely watercolour effect.  I did the same for the leaves using pear pizzazz. I added a  frosted finished embellishment to the centre of the poinsettia to add a bit of sparkle and finished off with a taffeta bow in pear pizzazz.


Monday 4 November 2013

Happy Monday Friends

Hello, it has been a while since I posted so I thought I would share a card and gift box I made for a dear friend's birthday recently.  She loved the matching card and box. Hopefully she liked the contents of the box too! I used the stamps that say 'over a million people share your birthday' then on the other side of the 'flip' its says 'that makes you one in a million!' I thought this two set sentiment was perfect for a flip card. The sentiments are from the One in a Million stamp set, check it out as there are lots of nice twin sentiments in this set.


Hope to back with you soon as I have lots more to share, I might even show you some Christmas ideas, if nobody thinks it's too soon!
Have a great day.

Friday 18 October 2013

Proud Mum & Dad

Well the weekend's here to relax and enjoy! I thought you might like to see the card I made for our daughter's graduation last week. There are lots of similar ones on the web, can't remember where I first saw this idea because I have had it in my head for months. Anyway this is my take on it and she loved it!
Hope you have a lovely weekend spent with your love ones.

Here's what I used to make this card.  Night of navy card base, Gingham garden washi tape and the little yellow candy dots for the buttons.  To make the tassel on the mortarboard I used white bakers twine and dyed it with my daffodil delight reinker then tied it into the tassel I needed. The stamp set is Pure Gumption  and is a very useful one to have for various types of exam results and costs only £11.95 in the clear mount.

Monday 14 October 2013

Happy Monday

I've been away in London for my daughter's graduation so there has been no crafting :-( However I plan on spending time in my craft room today :-) Yay!
With nothing new to show you, I am sharing my thank you cards for September which are quite simple but still nice. 


Hope you all get some time to relax and craft this week.

Products used on the cards - Polka wheel, Secret Garden stamp set and Framelit dies. The Thank you is from a very useful set called Four You.  I stamped the leaf with a Versamark pad and heat embossed it with silver embossing powder. The flower centre has a rhinestone to add a bit of bling.  Colours used are Daffodil Delight and Real Red.

Sunday 6 October 2013

A Sweet Birthday

Hope you all had a lovely weekend, quite an Indian Summer here in Northern Ireland, we even managed a BBQ on Saturday!

I made this pretty birthday card for my sister who was going on holiday to celebrate her special day, I wanted to give her some euros to treat herself while she was away.  I folded an A4 sheet of whisper white to make a pocket inside, this also hides where the ribbon is glued. The sentiment is from a lovely set called Cycle Celebration (page 10 of main catalogue). The ribbon is a retired one in Old Olive satin. I used the speckled stamp from Gorgeous Grunge (page 109 of the catalogue) beneath the flowers.  This is a great stamp set for adding a little something to a card, will make great snow effects for my Christmas cards!

Below is a photo of the inside of the card showing the pocket. I didn't stamp a sentiment inside, just a pansy, as I wanted to leave the space to write a little note. I also added a strip of Polka Dot Parade dsp in Old Olive.

        That's all for now folks


Saturday 5 October 2013

Little Autumn gift set


Good morning everyone, you are probably getting a little bored with autumn projects but I just wanted to share this little set I made for a friend I was visiting.  The little bag was filled with lovely chocolates!  I used the Magnificent Maple stamp, again! The little bags are great value, only £8.95 for eight (page 36 of seasonal mini catalogue) and can be stamped on and filled with various things, they make lovely  little thank you gifts.